I did it!
I finally got around to making over my end tables!  We bought 2 end tables (and a coffee table that is being used as a t.v. stand in the basement) at the RC Willey Clearance Center about 7 years ago when we where furnishing our first house. They were in pretty good condition and met our style. But over the years, several moves, and several kids later, they were looking sad.
 We bought 2 end tables (and a coffee table that is being used as a t.v. stand in the basement) at the RC Willey Clearance Center about 7 years ago when we where furnishing our first house. They were in pretty good condition and met our style. But over the years, several moves, and several kids later, they were looking sad.
Dull.
Lifeless.
Covered in water stains and permanent marker.
Lifeless.
Covered in water stains and permanent marker.
I've wanted to do this makeover for a while now and finally got around to it this past week.
 Here is a comparison -new on the left and old on the right (please ignore the sippy cup and dutch ovens in the background):

 I have the other end table in my living room.
 *The only reason I used the polycrylic sealer stuff is because I found a gallon of it on clearance at Lowe's for $2!!! It is normally like $40 for the stuff. I asked the paint guy why it was so cheap. He said they were getting rid of the gallon size and only carrying the smaller size. So I counted that as a major score! Of course it would have been a bigger score if Little Miss hadn't been trying to "help" clean the garage and spilled most the gallon on the garage floor! Luckily, it is one of those easy water clean-up kinds.
Before (Okay, so you can't see the legs here):
 Here is a comparison -new on the left and old on the right (please ignore the sippy cup and dutch ovens in the background):
As I've posted before, I'm lazy. So my process was actually very simple.
I sanded the heck out of the table top.
Then I wrapped the edges of the table with some blue painter's tape.
Then I spray painted the legs. Let Dry.
I flipped the table over and sprayed the legs again...just to make sure I got everything.
I then stained the table top with a nice cherry stain. I got lucky it wiped right off the metal.
I let it dry about 6 hours and did a second coat of stain. I wanted it just a little darker.
Then I waited another day and put a coat of polycrylic sealer* on it.
And it turned out great! Okay, Okay, not perfect, but I'm really happy with the results!
I have one of the end tables behind my couch in the family room.
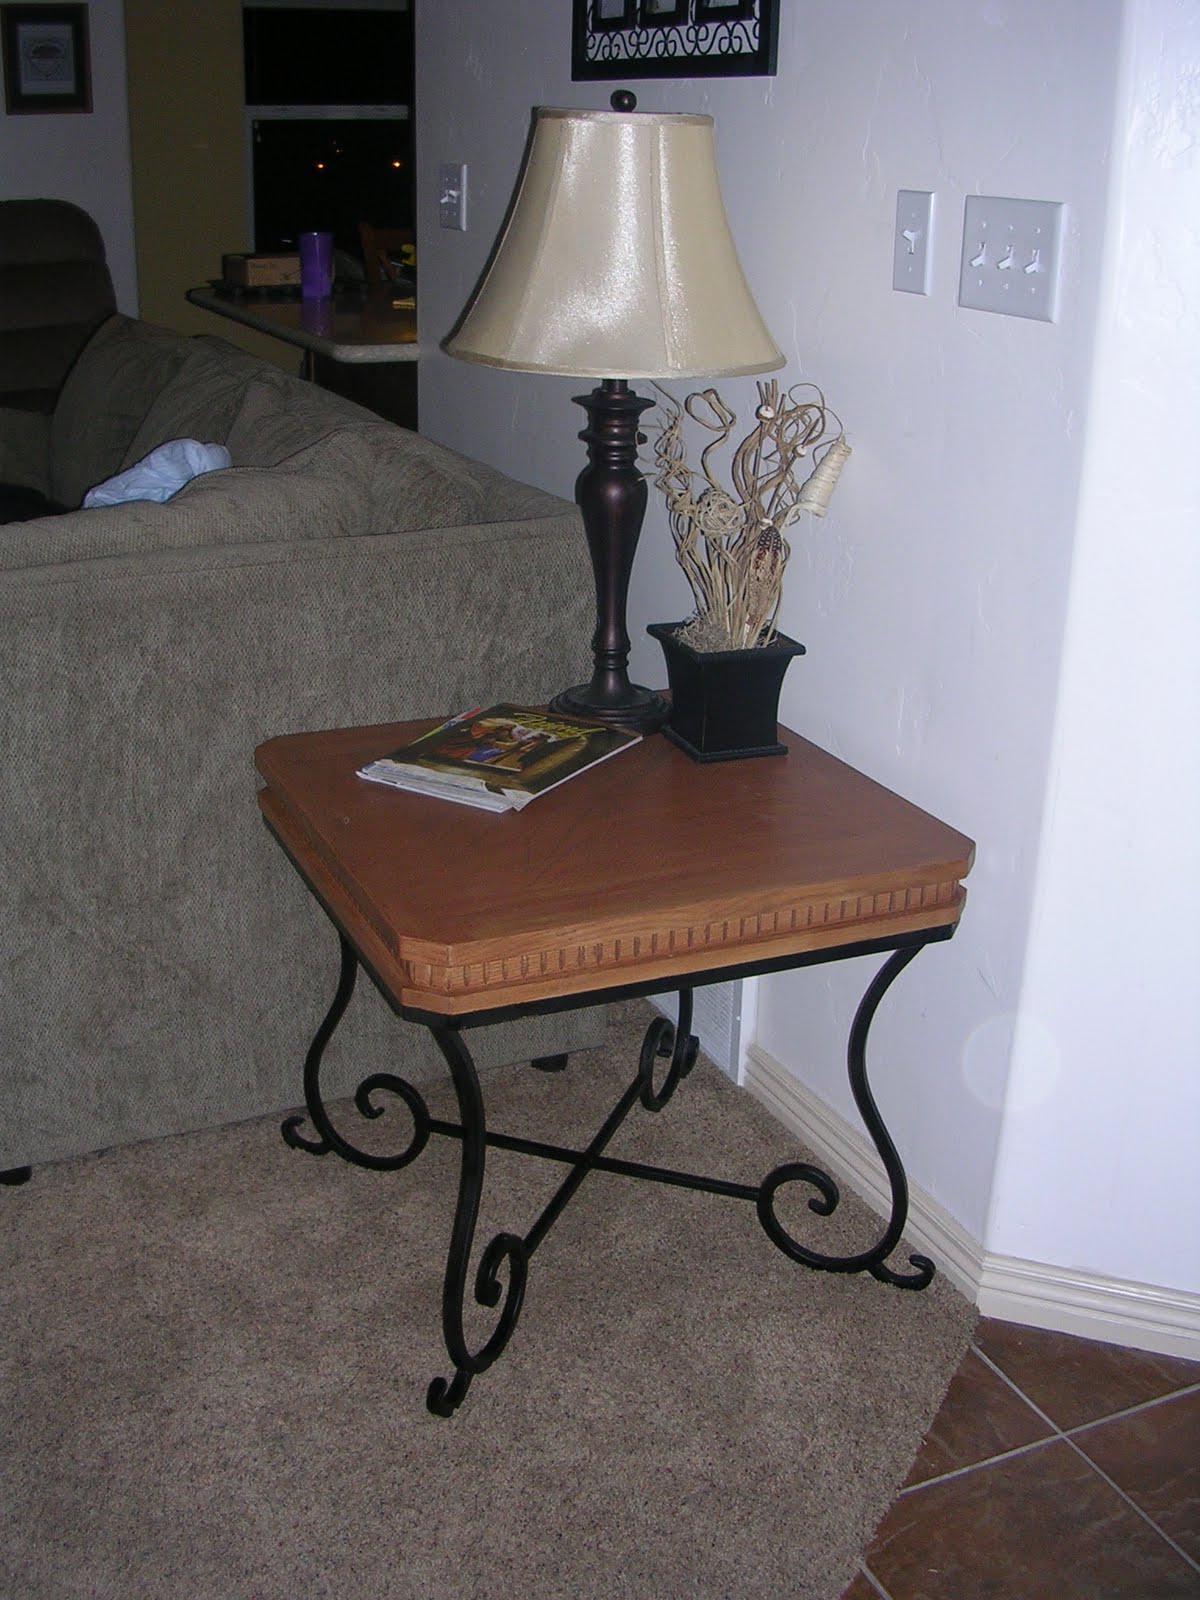 I have the other end table in my living room.
 *The only reason I used the polycrylic sealer stuff is because I found a gallon of it on clearance at Lowe's for $2!!! It is normally like $40 for the stuff. I asked the paint guy why it was so cheap. He said they were getting rid of the gallon size and only carrying the smaller size. So I counted that as a major score! Of course it would have been a bigger score if Little Miss hadn't been trying to "help" clean the garage and spilled most the gallon on the garage floor! Luckily, it is one of those easy water clean-up kinds.
Now I have more confidence to do the same thing to my kitchen table! I can't wait!
*I'm linking to Creative Cats HERE
*And to Funky Junk Interiors HERE
*And to It's FUN to craft HERE
*I'm linking to Creative Cats HERE
*And to Funky Junk Interiors HERE
*And to It's FUN to craft HERE